Antigravity Browser Not Working? Free vs Paid Setup Costs and the Safe 3-Mode Fix
When I asked Google Antigravity to browse a live website and nothing loaded, I thought I had broken my installation. It felt like I was burning through API credits and wasting time while the agent sat waiting on an invisible screen. The reality is much simpler: Antigravity has three separate browser modes, and fixing the problem does not cost you any money or paid software upgrades once you know which mode is stuck.
In this guide, I break down what setup each browser mode requires, what it actually costs to run web tasks, and how to fix an Antigravity browser that refuses to open without paying for extra tools.
The Real Cost of Running Web Tasks in Google Antigravity
Before diving into configuration files, it helps to understand how browser tasks consume resources. Running an AI agent that browses web pages involves two main costs: token consumption and setup time.
If your browser setup is broken, your agent can get trapped in a polling loop. It repeatedly knocks on an unreachable port, burns through context window tokens, and makes you wait several minutes before failing silently. That can turn a simple task into a frustrating drain on your hourly rate limits.
The good news is that all three Antigravity browser modes are included with the core tool. You do not need a paid third-party proxy, a separate headless browser subscription, or expensive browser automation extensions. The only thing you need is the right configuration switch on your machine.
Three Browser Modes and Why One Kept Failing
Antigravity handles web browsing through three distinct mechanisms. Treating them as the same tool is the number one reason people run into dead ends:
- The Built-in Browser (Browser Subagent): This mode uses a dedicated, isolated Chrome profile created specifically for Antigravity. It is completely free, runs locally, and keeps your browsing isolated from your personal accounts.
- The
/browserCommand: This command invokes a subagent that connects directly to the Chrome window you already have open on your desktop. It needs remote debugging permissions, which lets the agent see your active sessions. - The Chrome DevTools MCP Server: This is an open-source Model Context Protocol server that controls a fresh Chrome instance using DevTools commands. It can either run standalone with its own saved profile or connect to your existing browser.
When my browser stopped responding, the issue was not an expired subscription or a broken plugin. I had left an old setting in my MCP configuration that pointed directly to port 9222. Because no Chrome window was actively listening on that port, the agent sat waiting forever.
Watch the 88-second walkthrough below:
Step-by-Step Fix: How to Stop the Port 9222 Connection Hang
If your agent hangs indefinitely whenever you ask it to visit a URL, here is how you can resolve it in less than two minutes without spending a dime:
First, locate your configuration file. On Windows, you can find it inside your user profile directory at C:\Users\<your-username>\.gemini\antigravity\mcp_config.json. If you are working inside the Antigravity IDE, you can also reach this file directly from the MCP settings pane.
Look closely at the chrome-devtools section. If you see an argument that looks like --browser-url=http://127.0.0.1:9222, that is your culprit. That line tells the agent to wait for an existing Chrome session listening on port 9222 instead of opening its own window.
To fix it, remove that argument entirely so the MCP server launches its own fresh instance:
"chrome-devtools": {
  "command": "npx",
  "args": [
    "-y",
    "chrome-devtools-mcp@latest"
  ]
}
Once you save the file and restart Antigravity, the MCP server will launch its own browser automatically whenever a web task begins.
When Should You Use Your Personal Chrome Instead?
There are times when you need the agent to perform actions on a website where you already have an active login, such as checking private analytics or reviewing internal dashboards. Setting up fresh two-factor authentication inside a throwaway sandbox every morning takes unnecessary time.
For those specific tasks, the /browser command is the fastest option. When you type /browser in the chat, Antigravity will check whether your running Chrome instance allows remote debugging. If it does not, you will see a "Remote Debugging Required" popup on your screen.
Allowing access is completely free and takes four quick steps:
- Open your everyday Google Chrome window.
- Type
chrome://inspect/#remote-debuggingin the address bar and press Enter. - Check the box labeled Allow remote debugging for this browser instance.
- Switch back to Antigravity and click Check again.
This grants the agent access to your active browser window for that session. Once your work is finished, you can simply uncheck the box to revoke access immediately.
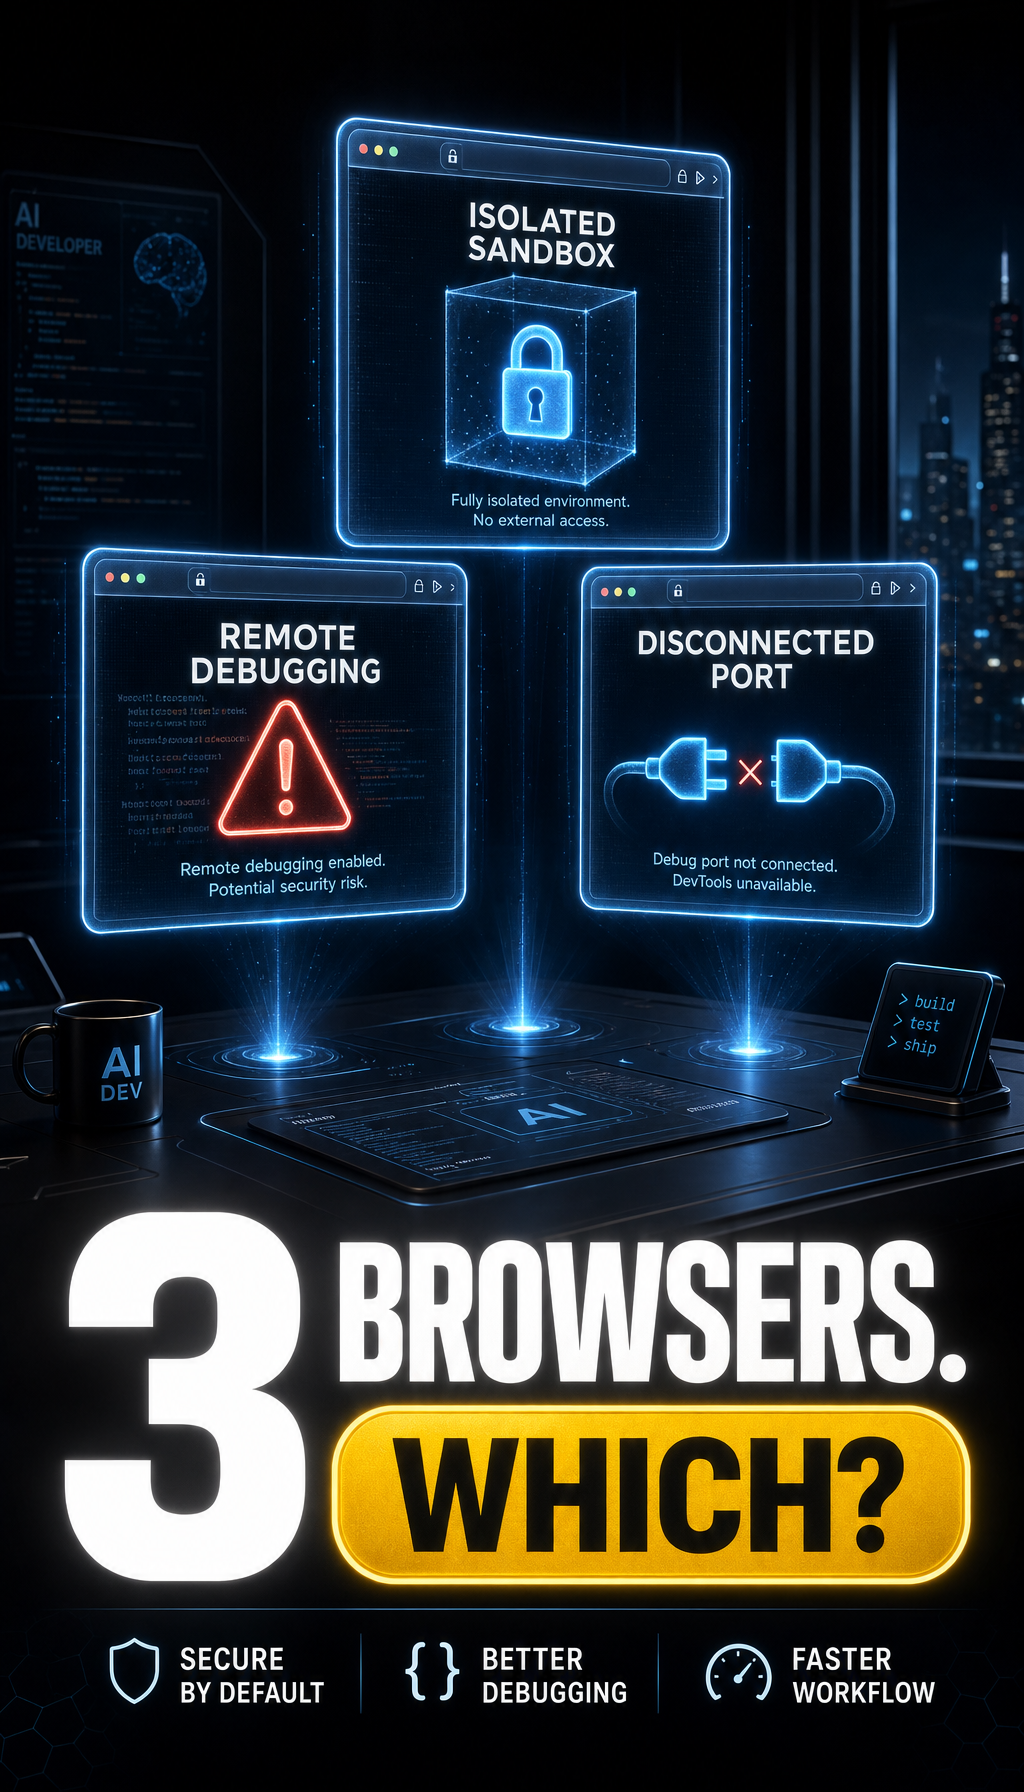
Comparing the Three Browser Options
To help you decide which approach gives you the best balance between convenience, setup effort, and safety, I put together this practical comparison:
| Mode | Target Use Case | Setup Cost | Privacy & Security |
|---|---|---|---|
| Mode 1: Built-in Subagent | Routine web research and public page scraping | $0 (Included) | High: Clean sandbox with zero personal logins |
Mode 2: /browser Command |
Tasks requiring existing active web sessions | $0 (Requires Chrome) | Medium: Sees everything open in your personal browser |
| Mode 3: Chrome DevTools MCP | Automated form testing and reproducible workflows | $0 (Open-source) | High: Dedicated persistent profile in your cache |
Quick Troubleshooting Checklist
If you run into issues again, walk through these checks before changing any advanced code:
- Did the built-in browser toggle get switched off? Check Settings → Browser → Browser Tools inside Antigravity.
- Is the agent waiting silently? Verify that you do not have an outdated
--browser-urlpointing to an empty local port. - Do you see a remote debugging alert? Make sure you checked the remote debugging option inside
chrome://inspect/#remote-debugging. - Do you need persistent logins without sharing your personal Chrome? Use Mode 3 and log into your required accounts inside its saved profile at
~/.cache/chrome-devtools-mcp/chrome-profile.
Where to Find the Complete Technical Walkthrough
Understanding how these three modes differ saves you hours of troubleshooting and prevents accidental token loss. You do not need to purchase expensive browser management tools or complex proxy subscriptions to make AI web browsing dependable.
If you want the complete breakdown with terminal commands, configuration snippets, and security recommendations, read my full guide on what to do when your antigravity browser not working. It walks through every setting step by step.


Comments
Post a Comment